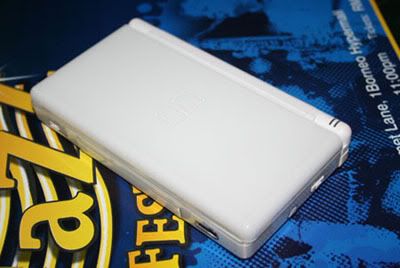
The DS Lite looks very innocent indeed when its not opened, do take notice on the colour too.
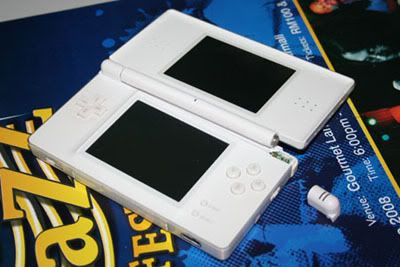
Unfortunately it could be deceiving unless you opened it.
Looks like a change of casing will be a great option. With all the funky colours out, why don't we just change?
2 comments:
I'm scared that this might happen to my DS..*pray for DS safety
This exact thing happened to my boys DS, exactly. I called Nintendo 2 times and they will not stand behind the DS if out of warranty. I am going to buy him a new one because he has too many games not to replace it. I believe that the hinge is not strong enough (too thin) for the strength of spring type mechanism on the right side of the screen. I am going to try to limit the number of times my boy opens the screen to the "full open" or flat position causing the screen to go through the "lock" position twice. Also, while closing the screen I will have my thumb firmly pressing down on the right hand hinge when coming out of the "lock" position. I think this will take a lot of the pressure or stress off the hinge and prolong the life of it, at least I hope so. The second thing is I fixed the old one for myself. You have to align the hinge to the screen pin in the correct orientation and keep the screen between the closed and first "lock" position with the hinge in position to be reassembled. I used "Instant Krazy glue brush-on", I like the brush!! Apply the glue to the DS base in all areas the hinge broke (be careful not to glue the "R" button), position and hold tight for a couple of minutes until dried. I ended up gluing the the "R" button a little, but I fiddled with it a bit and freed it. I then applied quite a few coats of Krazy glue (let dry between coats) to the front of the hinge where it meets the base (above and to the right of the "X" button, just for added strength. So far my fix seems to be holding very good but I am handling it with absolute care. I hope someone finds this helpful.
Post a Comment